Laboratory for Optical Field Measurement
With the Laboratory for Optical Field Measurements the chair is able to use different field measurement techniques at a wide range of experimental tasks. Apart from the usage of pattern-based as well as coherent optical measurement techniques and photoelasticity in research projects, their theoretical principles and practical usage are taught at lectures and practical laboratory courses. For this purpose, proprietary measurement systems, individual experimental setups as well as fundamental technology for image projection and image acquisition are available.
Measurement Systems

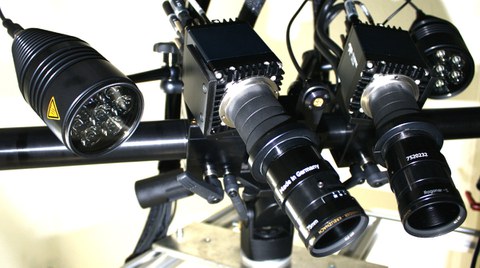
GOM mbH ARAMIS 4M Sensor
- Digital Image Correlation System
GOM mbH ARAMIS 4M
Field measurement of three-dimensional distortion of the surface and other deduced quantities
Spatial Resolution: 2400x1728 Pixel
Time Resolution: up to 168 Hz (in full spatial resolution)
Measurement Area: between 15x11 mm2 and 270x190 mm2 - Laser-Extensometer
Fiedler Optoelektronik GmbH P-50
High-Frequency Single-Axis Measurement of Distortion
Resolution: 0,1 µm
Edge Distance: min. 0,5 mm
Accuracy Class: 0,2
Measurement Length: 50 mm
Scanning Rate: 200 Hz - Digital Speckle Pattern Interferometry
Conversion on the Basis of an Ettemeyer-Sensor
Optics AND Imaging

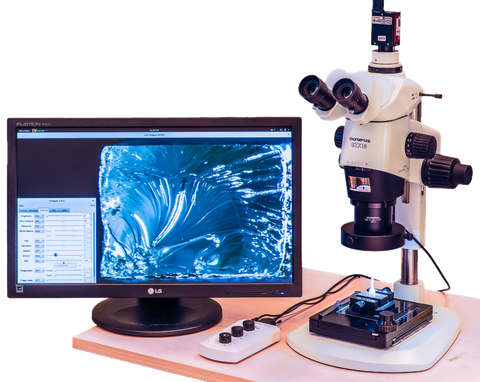
Olympus SZX16 - Stereo microscope with LED ringlight and digital image acquisition
- Stereo Microscope
Olympus SZX16
Continuous magnification with large working distance and high depth of focus.
Magnification: 7x - 115x
Field of View Diameter: 31,4 - 1,9 mm
Accessories: LED ring light with segment control, digital image acquisition - Transmission Microscope
Olympus BX40
Fluorescence microscopy with optional polarisation
Magnification: 50x, 100x, 200x, 500x
Accessories: Transmission and refelection light source, linear polarisation filter set - Diverse long distance microscopes, entocentric und telecentric measurement lenses and digital image sensors