Gitlab-Service
Table of contents
Gitlab is a web-based open source version control platform based on Git. It also offers other services, such as an issue tracking system with kanban board, a system for Continuous Integration and Continuous Delivery (CI/CD), a wiki, a container registry and much more.
Technical Data
Internet site/IP address: gitlab.mn.tu-dresden.de (IP: 141.76.16.89)
Authentification for TU member: ZIH login
Repositories per TU member: 100 (default, expandable)
Repository access: web frontend, SSH, access token
Available Features
- all basic functions of GIT
- Git Large File Storage (LFS)
- Creating groups
- individual access control to repositories
-
Issue Tracking (without e-mail support)
-
CI/CD-Pipelines
-
Wiki
-
Code snippets
-
Container Registry
First Login (only for TU members)
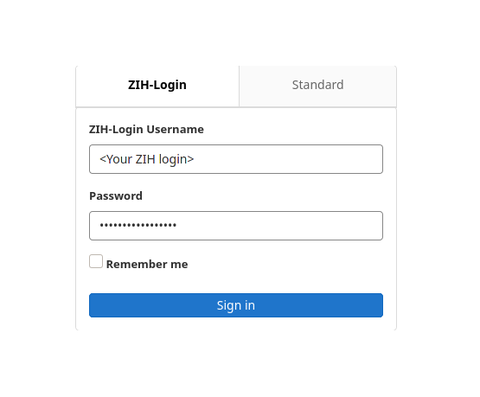
To use the Gitlab service, only a few steps are required after the first successful login to the web frontend. Please use your personal ZIH login instead of the user "foouser".
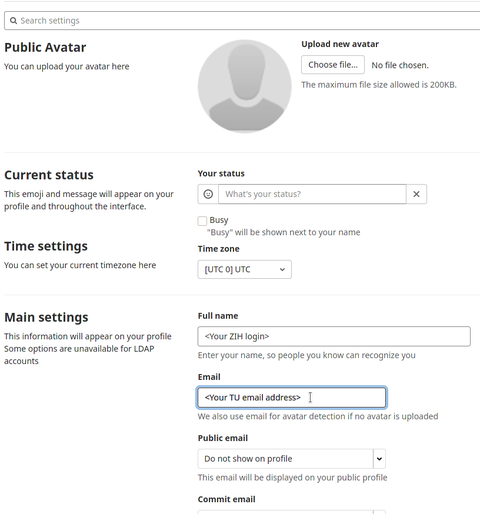
After that, the TU email address must be entered ...
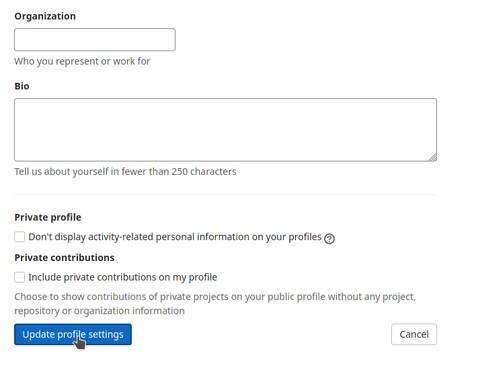
... and the profile settings must be updated.
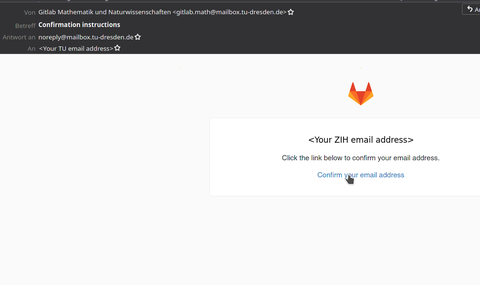
Finally, only the e-mail address must be confirmed via a link in a confirmation e-mail.
Now the service can be used to its full extent.
External users
It is also possible to create user accounts for persons who are not member of the TU Dresden. This makes it possible to work on projects across TU boundaries. These accounts must be requested by the contact person at TU-Dresden via an informal email to IT-Service Mathematics. The following information is required for the application:
- full name of the person
- e-mail address of the person
The log in takes place via the "Standard" tab.
External users have the following restrictions:
- They cannot create projects and groups.
- They can only participate in projects to which they have been added.
Project migration / Project transfer
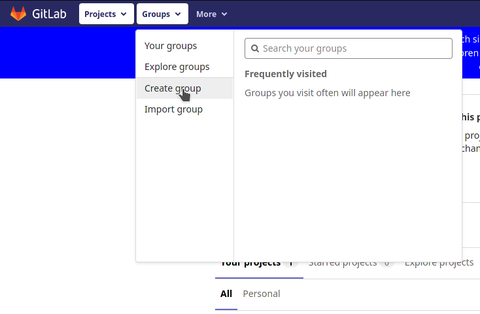
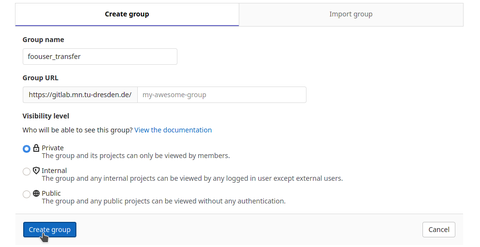
Step 1: Log in with the project owner's login and create a new group.
Hint: The group name can be freely chosen.
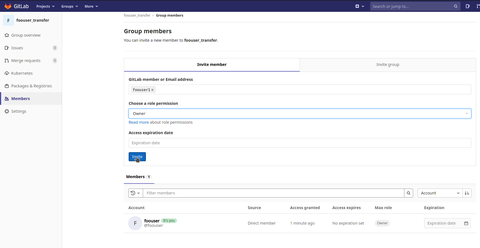
Step 2: Add the user to the group to whom the project is to be transferred.
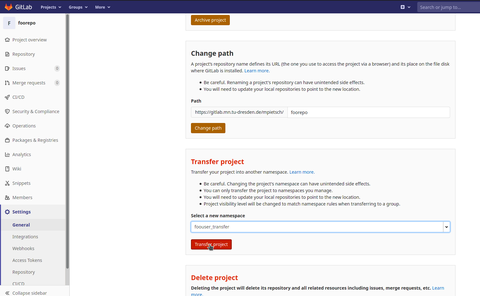
Step 3: Select the project that is to be transferred. Go to its settings "Settings / General / Advanced" to the item "Transfer Project". Select the group created in step 1 and confirm the transfer.
Step 4: Repeat step 3 under the login of the user to be transferred. Select the user name of the user with whom you have logged in.
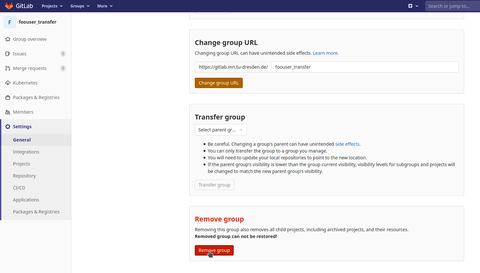
Step 5: Delete the created group again (Settings / General / Advanced).
Contact
If you have questions, requests, suggestions or criticism, please send us an e-mail to the following address: IT-Service Mathematics.

