OpenVPN on Windows
ZIH operates an OpenVPN service as an alternative for access to the TU Dresden intranet via Cisco AnyConnect. The manual explains how to set up the client and activate the access.
Setting up the OpenVPN app on a Windows computer
Obtain an appropriate profile from the OpenVPN profile generator in the Self-Service Portal and save it. Remember the folder in which the file is located.
Install the OpenVPN software. To do so, navigate to the official OpenVPN download page with a browser and download the software for Windows 10.

Install the software by running the downloaded exe file. Usually the service is started automatically after the installation. If this does not happen, start the OpenVPN GUI manually. After a successful start, an additional icon appears in the task bar at the bottom right.
When starting the app for the first time, OpenVPN may display two warnings that it has not yet been able to find a configuration setting. You can ignore resp. click these messages.
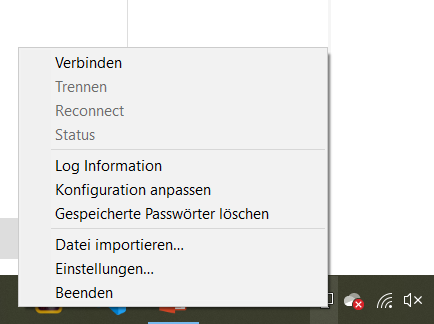
Right-click on the icon of the OpenVPN App in the task bar and select the menu item "Import file" (in the picture: "Datei importieren"). In the dialog box that opens, select the file downloaded in step 1 and import the file.
Then right-click the icon again and select the "Connect" menu item. The first time you connect, Open VPN may want to add you to the group of "OpenVPN Administrators". This requires administrator rights on your computer. It is therefore possible that you will have to confirm this action by entering the password of your local administrator account.
Connecting to the campus network via OpenVPN
After starting OpenVPN GUI you will find the icon for OpenVPN in the task bar at the bottom right (see illustration of the icon in task bar).
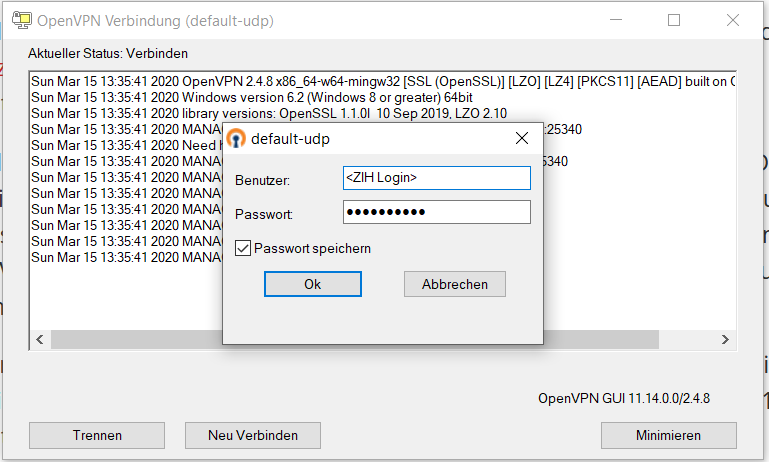
Right-click on the icon and select the menu item "Connect". A dialogue box appears, asking you for a "User" and a "Password" (in the image "Benutzer" and "Passwort"). Instead of "<ZIH Login>" please enter your ZIH login (without the < and > characters and without "@tu-dresden.de" or similar extensions). As password please use the password for this login. The password can be saved. In this case, the password is already preselected when connecting again. Click on "Ok". The connection is established.

An existing connection can be recognized by the small green screen in the icon.
The connection can be disconnected by right-clicking on the connection and selecting the menu item "Disconnect".